Handmade gift of the week: How to use old handkerchiefs

I recently found my stash of hankies I had as a child. I probably would have thrown them out, had they not been in such good condition and had such gorgeous vintage-style children’s prints on them. I have been racking my brains as to what I can do with them…a child’s quilt perhaps, or maybe some patchwork scatter cushions? The fabric of some of them is pretty fine now, so I’m not sure if they’d stand the wear-and-tear of being re-purposed in a quilt of cushion. Then I saw this gorgeous vintage hankie bunting idea and I can’t wait to try it!

Image from www.pinterest.com

Why we love it:
  • This is super easy to make – you can simply tie the corners together, so I don’t need to cut up my precious hankies
  • You can make it as long as you want, depending on how many hankies you have
  • This is a gorgeous way of decorating a child’s bedroom or casual living area. Simply select patterns that suit the room you intend to use it in i.e. children’s prints for a child’s room, or pretty florals for an adult bedroom. 
  • It’s colourful, fun and would look great in any interior – contemporary or traditional. 
  • Bunting has been around forever and is a classic decorating accessory, but it’s massively on-trend at the moment. 


Handmade card of the week: Confetti cards

Colourful confetti spots have a celebratory feel about them and are an easy way to create a fun handmade card…  


Why we love them:
  • You can easily make these types of spots yourself with different coloured paper and a hole punchTip: Fold the paper and punch it in several layers to create more spots. 
  • You could experiment with metallic or printed paper for different looks. Tonal colours work well for adults, and bright contrasting colours are fun for kids. 
  • You don’t have to be too precise and glue each spot – spread some glue (Pritt Stick type glue works best) on your card and sprinkle spots for a more random effect. 
  • You can add other ‘accessories’ to your card for the spots to appear from – we love the envelope used on the card above. 

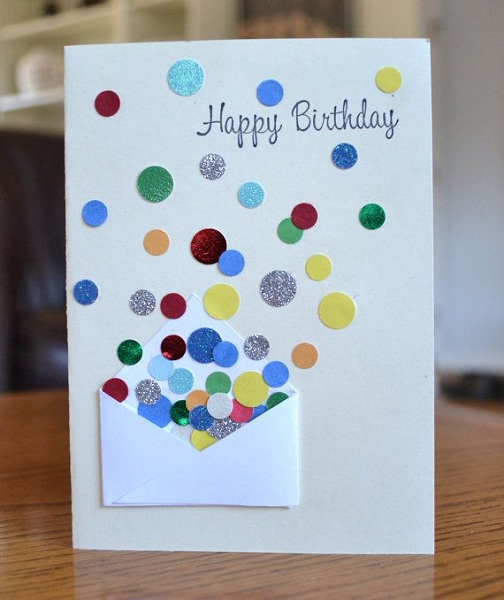
Check out our other handmade cards here…

Happy Australia Day 2016!

What’s the plan for today – A BBQ? The beach? or just relaxing at home?
Whatever you’re up to, we wish you and your family and fantastic Australia Day 2016!:-)

Gift wrapping idea of the week: Personalised kraft gift wrapping

Simply add your gift recipient’s name to their wrapped present in large letters and you’ll never have to use a gift tag again (unless you want to, of course:-) 

Laura Howard, blogger of Bugs and Fishes created this fun idea and we think it works well for anyone of any age…

TIP: Have an alphabet of paper templates cut out and ready to trace around so it won’t take you long to cut out a name or message quickly. 

Why we love it:
  • You’ll never need to buy another gift card every again!
  • The contrasting patterned paper, such as music sheets, road maps and metallic paper look great against the kraft paper. Blogger and creator of this technique, Laura Howard likes to use bright colours for kids, and more muted tones for adults. 
  • It’s a great way of using up scraps of wrapping paper 


What colour combinations do you like? 
We’d love your thoughts – please comment below…

Cake of the week: Sprinkle number birthday cake

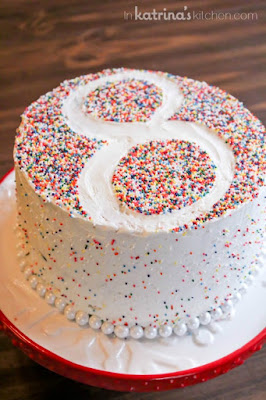
There’s an infectious fun associated with sprinkles. Maybe it’s the pleasant memories of childhood birthday parties, or just the rainbow of cheerful colours. These sprinkle birthday cakes are super simple to make and would make an awesome cake for anyone, of any age. 
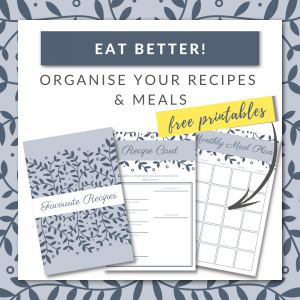
Image from www.buzzfeed.com

Why we love them:
  • Each of these cakes demonstrate an ’embossed’ or ‘debossed’ way of using sprinkles. The first image shows how you can ‘block out’ the area you don’t want covered with a template. The second image uses a number 2 stencil to pop sprinkles in. 
  • These colours would work well for children and adults of any age, male or female. 
  • You could experiment with the colour of the base icing. White will of course make the sprinkles stand out, but pale pink, yellow, or blue would also look good too. 
  • You can apply this decorating technique to a cake of any size or shape. 
Who would you make this cake for? 
We’d love your thoughts, please comment below…